
So after months and months of planning the pop up shop, it finally arrived and I can honestly say I don' think I have ever worked as hard in my life! 1000's of wrapped gifts later I can say it was a huge success! 6 months later I am reflecting on what an amazing experience it was and can't wait for this year!

I could not have done it without my nearest and dearest on hand.
As expected my main clientele was men - lots of relieved faces once there last minute dash of Christmas gifts had been wrapped.
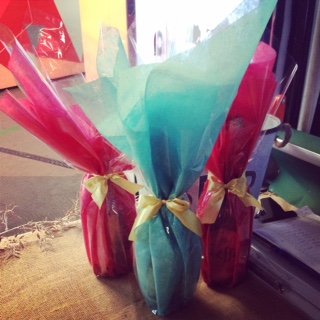
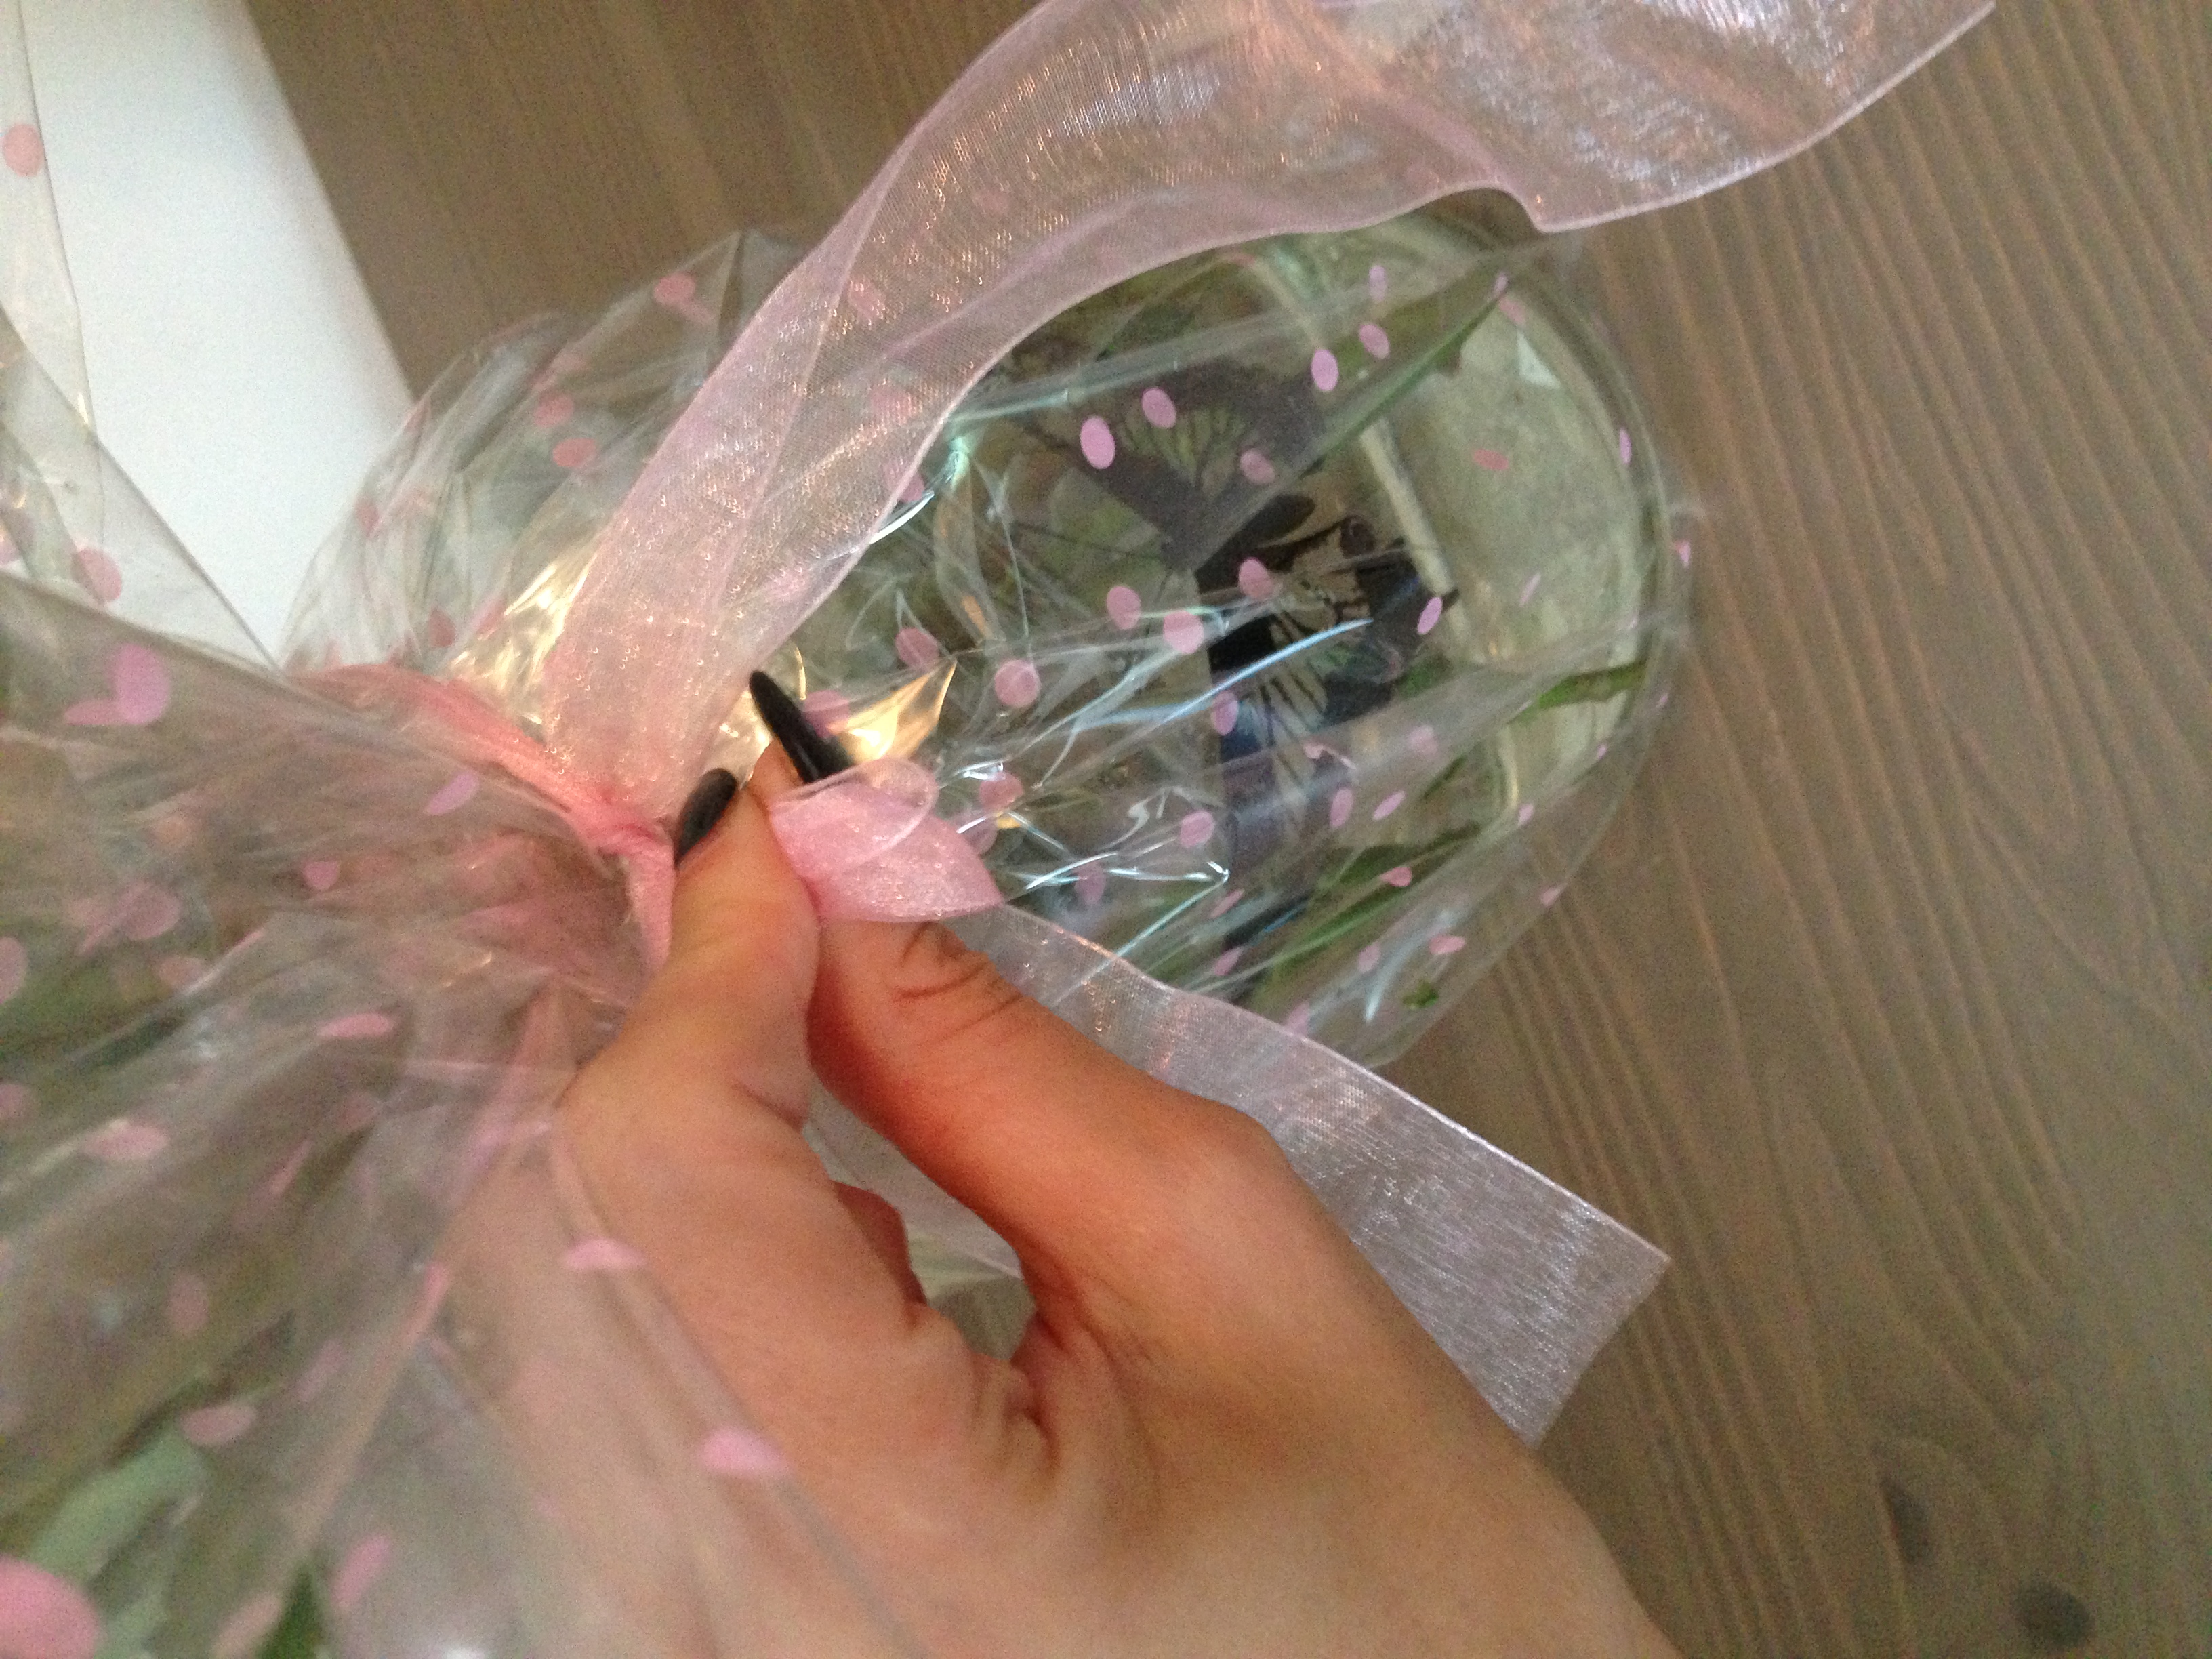
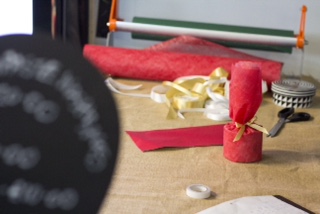
There was a real mixture of gifts I was asked to wrap - lots of Tiffany bags and secret Santa gifts of all shapes and sizes!
See below a collage of pictures from the 10 chilly days spent @ Old Street Underground Station!

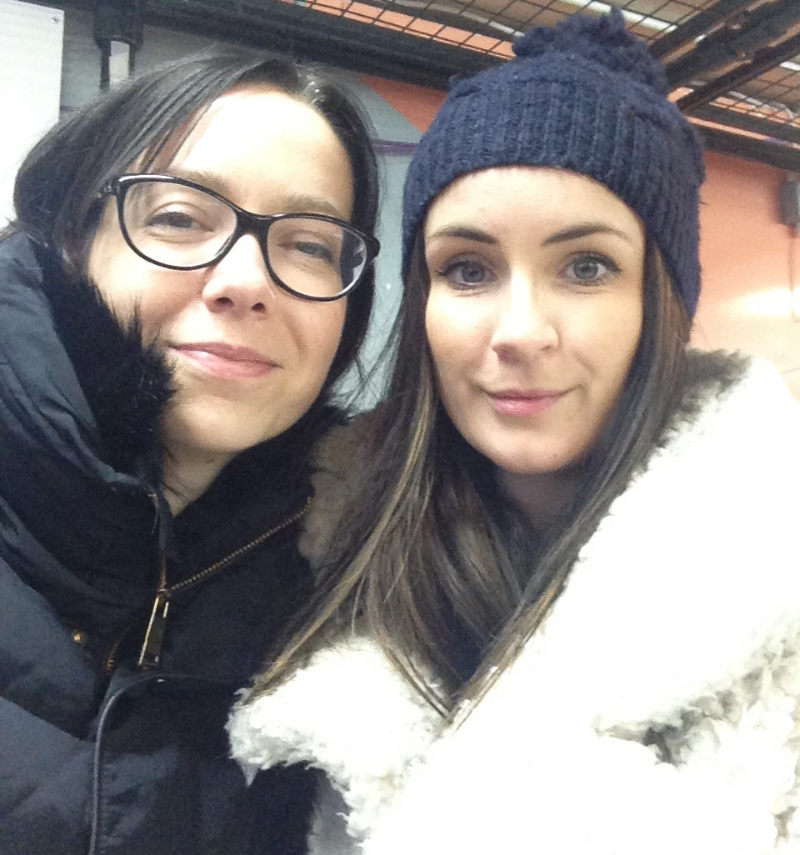


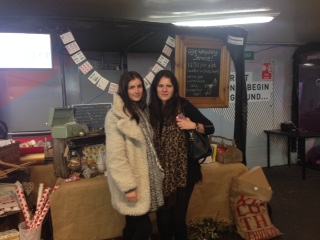
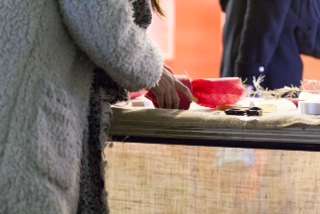
In action shot with my helper Jayne!!!


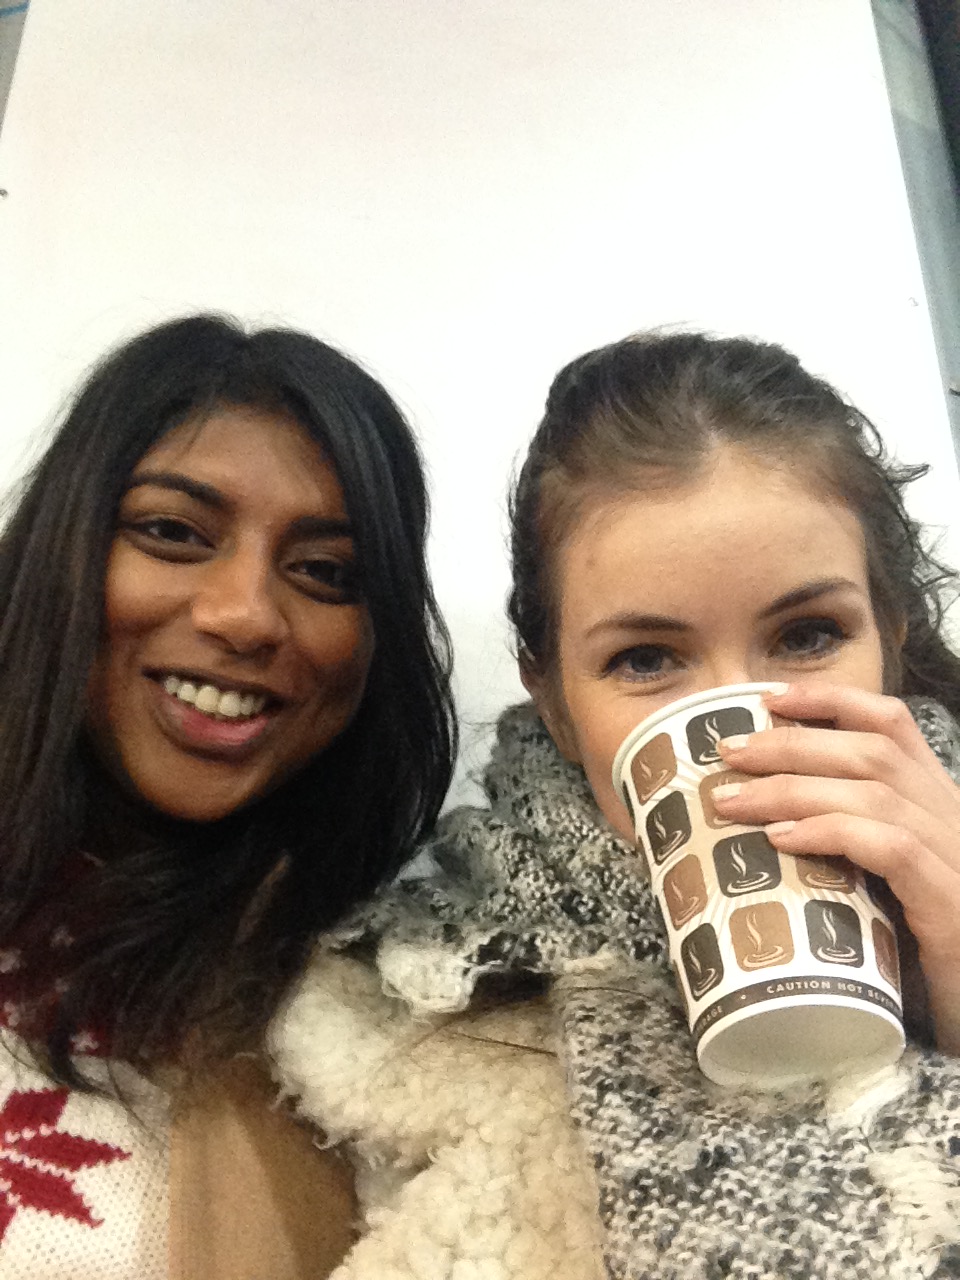
First day on the job!